I wanted to do a follow-up of my previous post to show you how easy it is to use the same process on a mug.
I had these great plain mugs I got for 99 cents at a local discount store and I decided they needed to say something cheeky.
 |
| Boring Originals |
So I went ahead and created a stencil using 631. This is an example where removable vinyl or stencil material is a MUST...if you use 651 you're going to cry because the vinyl is not going to want to come off everywhere and you're just going to end up frustrated...so make sure you understand your materials before creating the stencil.
Now let's talk paint, you can use oil based sharpies on your stencil, but I already had this glass and ceramic paint available (and my sharpies are all mysteriously missing). Keep in mind you CANNOT use just any paint as it will not stick to your mug. This paint is made exclusively for glass and ceramics. Then, once you're done painting you must FOLLOW THE DIRECTIONS. If it says cure before you bake....please do so or your paint is going to come off and your beautiful creation will literally go down the sink.
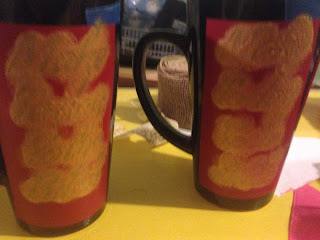
Once you have your paint you will use the same technique as before, I used another foam pouncer brush, dipped in paint, then dapped on a paper towel. This dry technique will keep your paint from gooping everywhere. YOU DO NOT WANT GOOPING IF YOU'RE TRYING TO STENCIL SOMETHING!
Because you are using a LIGHT touch, it will probably take a few layers, especially on a dark colored mug like mine. Once you have your desired number of coats its time to follow the directions for curing.
 |
| Painted and ready to cure. |
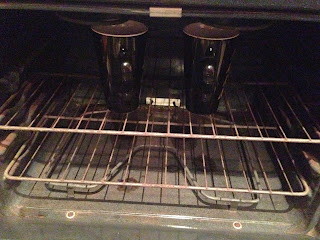
In my case the item needs to cure for 24 hours before being baked at 300 degrees for 35 minutes. So bake your item as directed.
I went ahead and turned the oven off and let them cool while they were in the oven as well. You don't need to, I just do this because my dog likes to lay in front of the oven so its hard to pull out hot things without dropping them.
 |
| Time to Bake. |
I went ahead and turned the oven off and let them cool while they were in the oven as well. You don't need to, I just do this because my dog likes to lay in front of the oven so its hard to pull out hot things without dropping them.
And then you have a finished product!


Comments